I am about finished with the construction of my bed, and it turned out as good as I had hoped for! It can be installed or removed in less than 15 minutes, and it retains all original functionality.
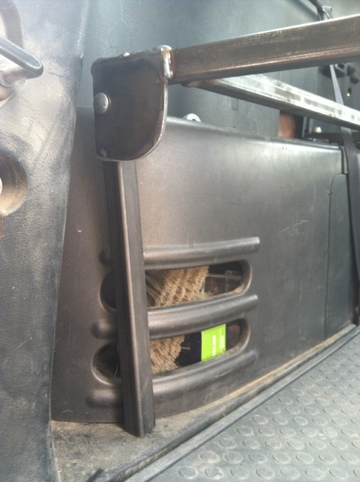
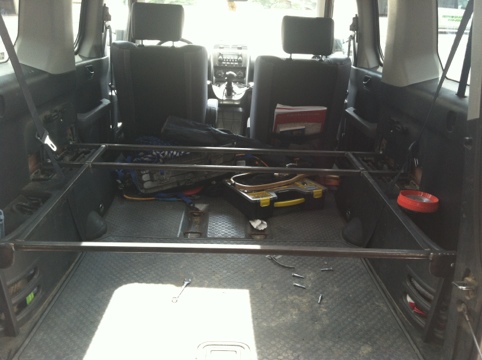
The rear legs support the bedframe against the floor of the Element. They need to be removed to get the frame in/out of the car, and can be easily removed with a 7/16″ wrench. I used Nylok nuts to keep them from vibrating loose.
I added Unistrut spring loaded nuts to the Honda strut rail where the original seats attach. I did need to grind a tiny amount off the strut nuts to fit the metric rail. These nuts can stay installed when the bed is removed.
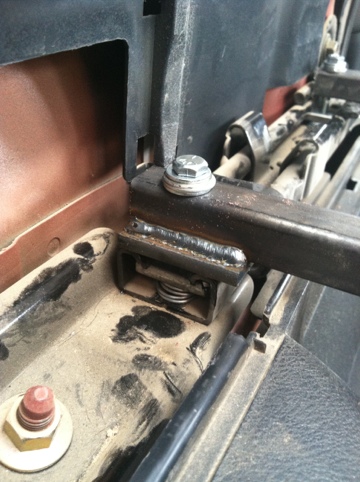
Photo of the bed rails installed with the original seat trim.
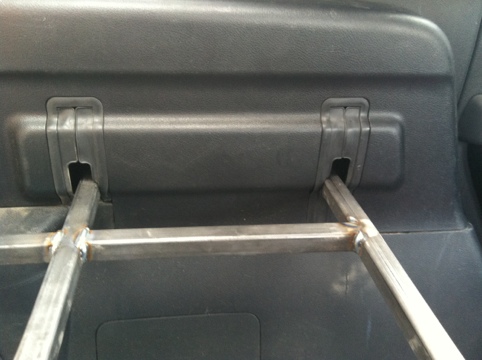
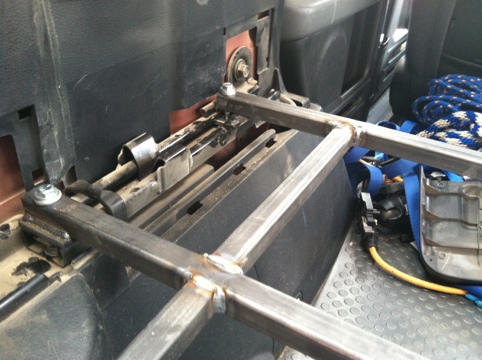
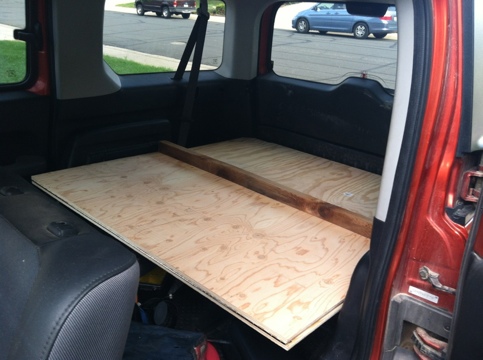
Photo of the bed installed, before being wrapped with faux leather.

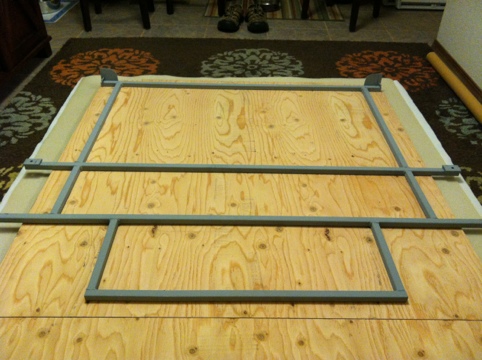
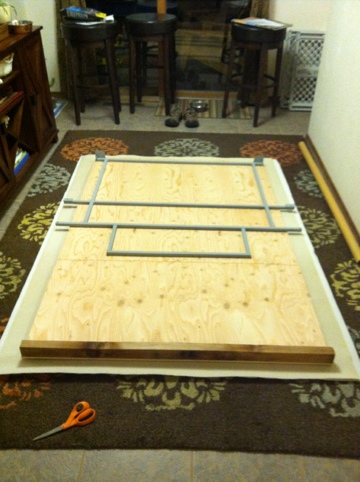
Bed frame before paint and plywood.
Full view of bed frame. The plywood is attached with #10-1″ self-drilling metal screws. They fit the 3/4″ light-gauge square tubing very well.
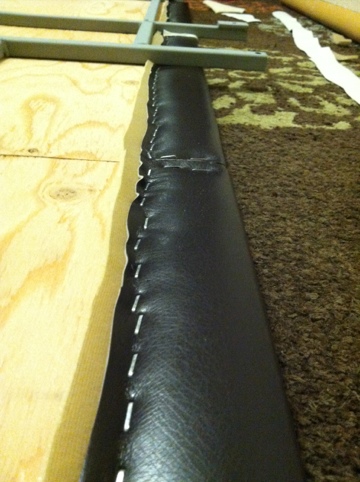
Frame with plywood, getting ready to staple on the faux leather. I used automotive headliner as the backer for the leather, to add a little cushion. It turned out to be very comfortable to lay on.
Bed with front section folded back for travel. The plywood measures 47″ Wide. The rear section is 48″ long, and the front section is 24″ long. I used a piano hinge for the joint.
I stapled continuously along the bottom edge. I plan to make a lighweight aluminum trim strip for the visible section on the front folding section.
 http://4wdx.com/
 Banjo Hangout