Category: N0BCB

HAM radio call sign, N0BCB, previously KD0PVZ.

  • 6m portable yagi tripod

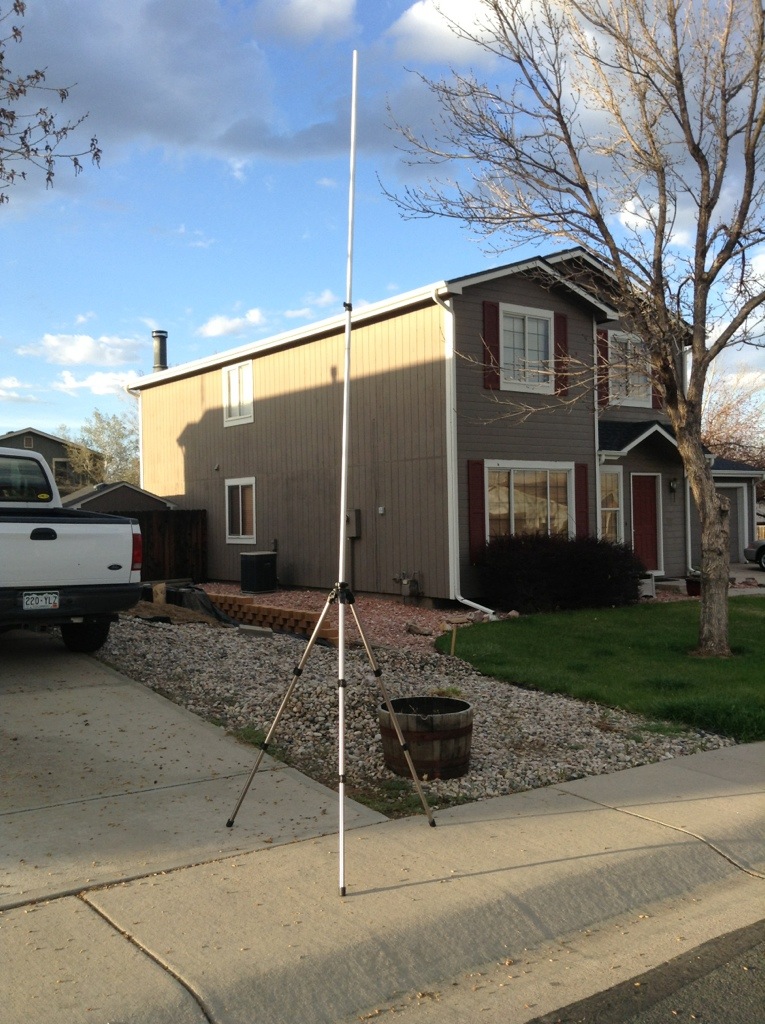
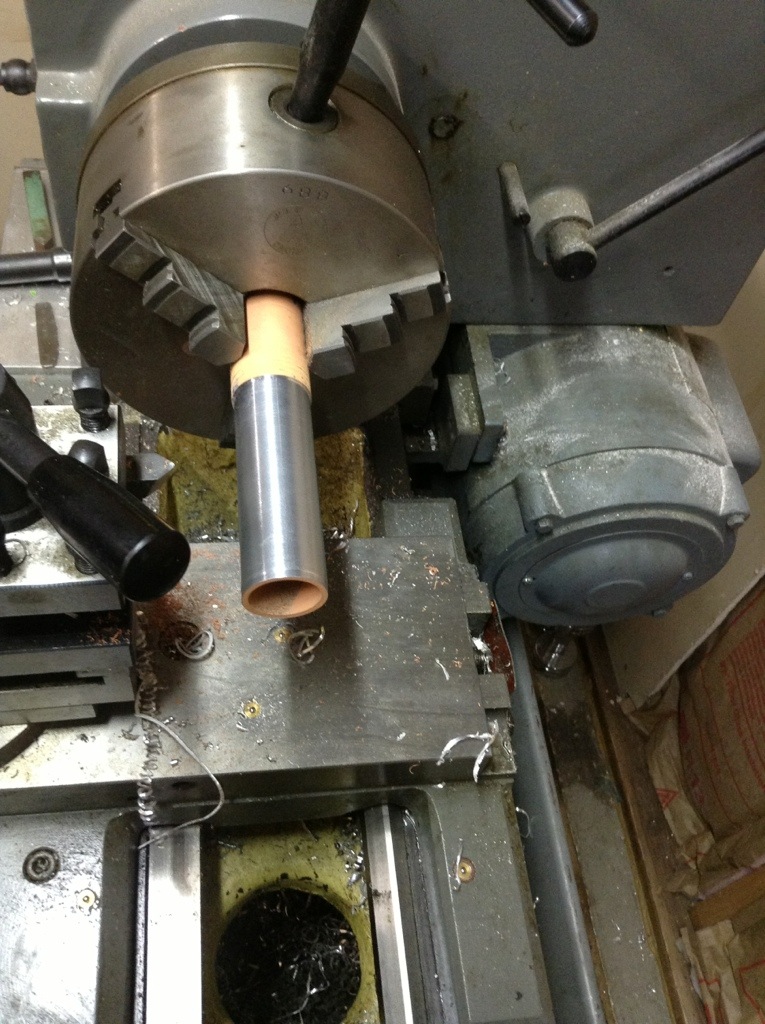
    I have the upper 2 sections of a telescoping mast left over from another project, and a new surplus Bogen tripod. To fit the mast sections to my tripod, and had to turn a bushing adapter. Tonight I finished that part and tested the fit.

    20130510-191910.jpg

    20130510-191918.jpg

    I will guy this setup when there is an antenna mounted. I’m hoping it will be sturdy enough to support my 10′ 6 meter yagi and my Arrow 4 element yagi at the same time.

  • 6 meter portable Yagi 4 Element Part 1

    Getting ready for field day 2013, I decided to build my own 6m 4 element Yagi antenna. My goal is to have something that’s portable, with a bit of directional gain. If it turns out light enough, it could be useful for some of the easier SOTA activations and maybe the Colorado 14er event.

    I am modeling this antenna after the Buddipole antenna system. I would have just purchased those parts, but they do add up fast, and I have my own machine shop!

    Counter-sink tool

    20130508-191415.jpg

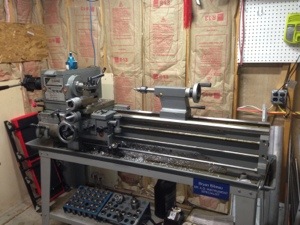
    My Jet BD1331 lathe
    20130508-191426.jpg

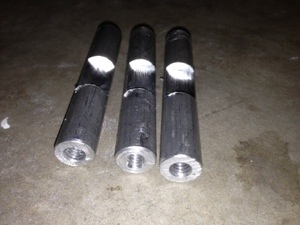
    Partially finished parts

    20130508-191438.jpg

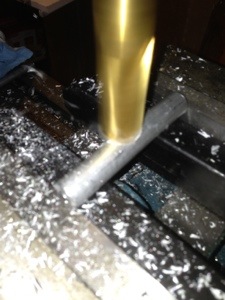
    3/4″ end mill

    20130508-191450.jpg

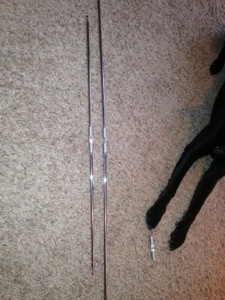
    With Buddipole featherweight whips installed and extended

    20130508-191458.jpg

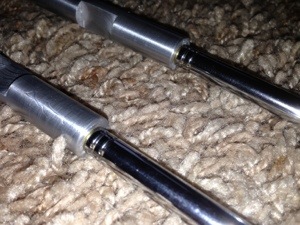
    Close-up of whips installed in rotating collars. 1/4″-20 threads

    20130508-191505.jpg

  • Honda Element Ham Antenna

    Installation of a NMO mount in a Honda Element:
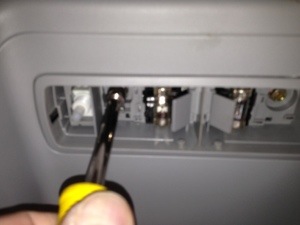
    Removing the upper console. Pry out the 2 light covers, then use an 8mm nut driver to remove the bolts.
    20130317-190506.jpg

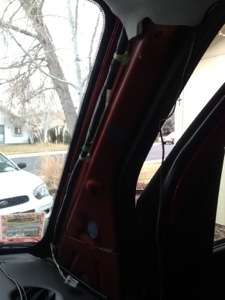
    The A pillar trim pops off without any tools. The coax can be tied to the wire bundle behind the panel.
    20130317-190521.jpg

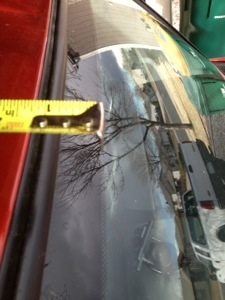
    Lay a tape measure on the roof. Line up the end of the tape with the black edge of windshield. This could vary depending on your windshield. On mine I measured 9″ from this point for my 3/4″ hole, made with a step drill.
    20130317-190531.jpg

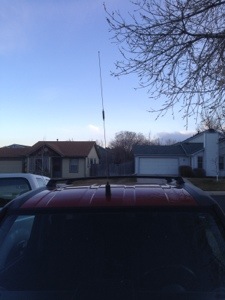
    Here is a larsen 2/70 antenna installed. I am going to order something shorter that will clear the garage door.
    20130317-190543.jpg

  • Homemade SOTA battery for the FT-817ND 11.1V 3S1P LiFePO4

    In looking around for a decent battery for SOTA activations on my FT-817ND radio, I decided that nobody was making the exact battery that I wanted. Up until now, I’ve been successfully using a Bescor 4500mAh, 12V NiMH battery. I wanted something that was slightly lighter, and also a lower pack voltage to minimize the standby current on this particular radio.

    I decided on the LiFePO4 (Lithium Iron Phosphate) technology, because it has a lot of the energy characteristics of other Lithium batteries, but with less chance of fire! All my parts were purchased from BatterySpace.com. They shipped pretty quickly and I got exactly what I ordered.

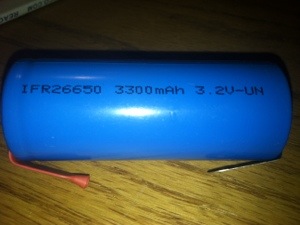
    Here are the parts as they arrived in the mail. (3) 3300 mAh cells, a fusible link, an over temperature link, some heat shrink and a balancing connector.
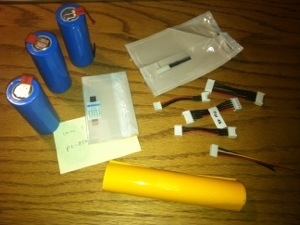
    20121022-210218.jpg

    A shot of the individual cell:

    20121022-210226.jpg

    The over-temperature link. I connected this between cells 2 and 3.
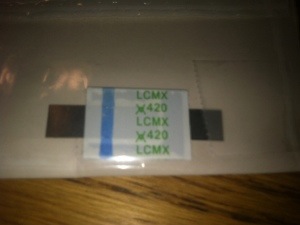
    20121022-210232.jpg

    Here’s a shot of the self-resetting fuse. This was soldered between cell 1 and 2:
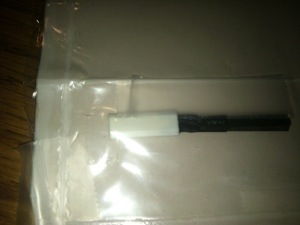
    20121022-210239.jpg

    Before I soldered any of the cells, I hot glued them together. I always used to think hot glue guns were for craft folks. I now find myself using it a lot for fabricating “stuff.”
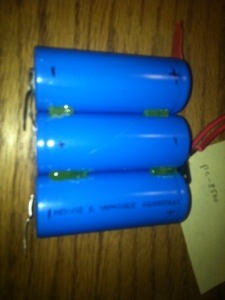
    20121022-210245.jpg

    After shrink tape applied! I put 2 wraps on and alternated them. Once it’s fully tested I’ll put 1 more wrap on just to be safe.
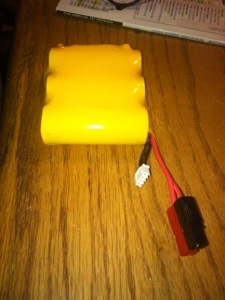
    20121022-210254.jpg

    Here’s the pack connected to the balancing board on my Thunder Power TP610C-ACDC charger. I got this charger a few weeks ago, and it’s the fanciest battery charger I’ve ever had! I’m glad I spent the money on something nice and versatile. I’ve used it for my SLABs, AGMs, NiMH packs and now the LiFePO4 pack.
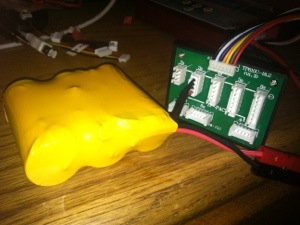
    20121022-210303.jpg

    View of the charger. This one is nice because it can use DC or AC as a source of power for charging. Handy if you’re at home or in the field.
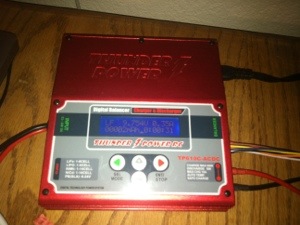
    20121022-210311.jpg

    View of the screen with first charge. The little carrot indicates that the charger is sensing the center taps between cells. BTW, on the balancing wires, connect the red wire to red, black to black. The Green wire, which is adjacent to the red wire on the balancing plug, should connect to the tap between cell 2 and 3. The yellow wire which is next to the black wire, should connect to the tap between cells 1 and 2. To test, measure on the balancing connector. Between black and Yellow, you should measure 1 cells voltage (~ 3.5V). Between black and Green you should measure 2 cells in series, or ~ 7.0VDC. Between black and red, you should have the full pack voltage of ~ 9-10VDC. The cell voltages will depend on the state of charge that the batteries arrived in.

    Keep an eye on this battery during the first few charge/discharge cycles. It should be perfectly safe, but it’s better to keep an eye on things.
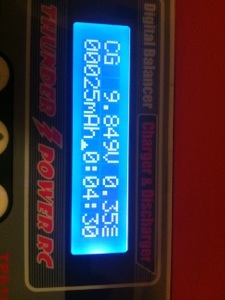
    20121022-210326.jpg

  • 2m ssb using a FT-817ND

    Made my first 2m ssb contact tonight from Fort Collins to Eaton on 5W using my FT-817nd and Arrow 146-4BP. Fun!

    20121001-193943.jpg

    20121001-194001.jpg

  • New battery charger

    I have a 12v / 4500mAh battery that I’ve been using with my FT-817nd. It is NiMH technology and is lighter than a comparable SLA battery. The problem has been charging, since I only had a SLA charger. Today I picked up a Thunder Power TP610C-ACDC charger from Hobbytown that can charge LiPo, LiFePO4 (and other lithium types), NiMH, NiCad, Lead acid and maybe others. It has some really nice features. I’m planning to also put together a Li-ion pack using surplus camera batteries, so I wanted a versatile charger.

    20120929-191133.jpg

  • 2 meter dipole with Buddistick vertical

    Tonight I decided to play around with my Buddistick vertical setup to see if I could make a 2m dipole for ssb contacts. I drilled and tapped a piece of 1/8″ aluminum flatbar and used it to mount my 2nd adjustable whip. I could actually hear some of the Monday night RMVHF+ Net from outside the house, but it was really faint. I flipped it vertical and keyed up a local repeater. I’ll try this again on an upcoming SOTA trip. I plan to ultimately build up or buy a portable 2m/70cm Yagi for this work. This setup will be nice if it works since I’m not carrying anything extra with me.

    20120820-203736.jpg

    20120820-203742.jpg

  • SOTA alerts for this weekend

    I’m planning to do 3 SOTA summits this weekend while we’re camping up on Independence Pass between Leadville and Aspen. Hopefully in the following order:

    Saturday 8/18/2012 at 10:00 local Mountain time: W0/SR-108 using QRP 14.343 SSB and 146.52FM
    Saturday 8/18/2012 at 14:00 local Mountain time: W0/SR-115 using QRP 14.343 SSB and 146.52FM
    Sunday 8/19/2012 at 10:00 local Mountain time: W0/SR-020 using QRP 14.343 SSB and 146.52FM

    I’ll have my TH-D72A beaconing to

    I’m trying to pick up an Arrow Yagi for 2m. If I have that in time, I’ll try both FM and SSB on 2m.